Making Foam Lightsabers

Star Wars day is coming up on Sunday, May 4th. (May 4 = May the 4th = May The Force.) Given that the boys and I are such big Star Wars fans, we figured that we just had to do something special for it. (Plus, B had to do a freelance article about the day.) We decided to tackle something we’ve seen and had been meaning to do for awhile now: Foam Lightsabers.
The supplies are easy:
- Foam pool noodles – You should be able to find these for $1 each. We found ours in Christmas Tree Shops. Make sure they’re just think enough to wrap your hands around (as if they were lightsabers).
- Shiny silver duct tape – You can get this in Target, Jo-Ann, or another craft shop. This should only cost about $3.50 depending on the store, sales, coupons, etc.
- Black electrical tape – You can get this in Target or a hardware store. This should only cost around $2.30.
The rolls of duct and electrical tape should provide enough materials for quite a few lightsabers. We wound up making 6 and had plenty left to spare. I’d wager we could easily make another 6. If so, this means that each lightsaber costs about $1 in materials. That makes this a very inexpensive craft. (Always a very good feature in a craft.)

Once you have your supplies, measure your pool noodles and cut them in half.


Now, you have two…

No, not two lightsabers. Not yet.
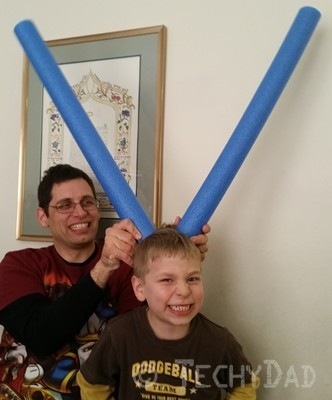
No, not two rabbit ears either. You have two foam tubes to make into lightsabers. (Yes, each foam pool noodle makes two lightsabers.)
Next, use two strips of duct tape to cover the end. Careful of photobombing Yoda, you should be.
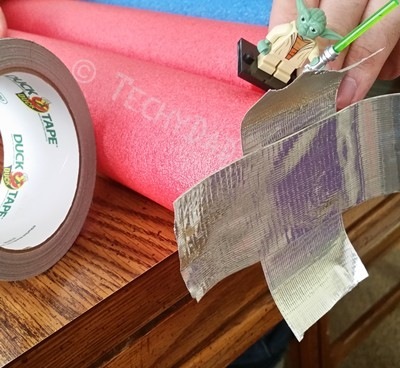
After this, wrap the bottom of the lightsaber with four lines of duct tape. Make sure to always start at the same section to keep a consistent seam. Also, wrap the tape while facing the end of the lightsaber head-on. Doing it from the side may cause the handle to wrap unevenly. You now have a bare-bones lightsaber.
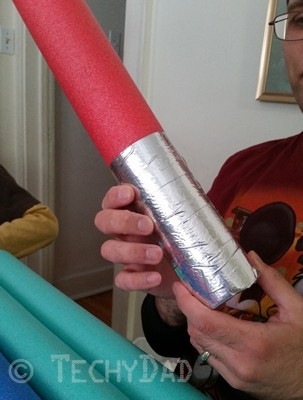
Of course, we want more than just a barebones lightsaber. We want a full fledged Jedi weapon. It’s time for the electrical tape. You can vary this portion to customize your lightsabers however you like. You can even give your kids some lengths of tape so that they can customize their own lightsabers. One tip is to use a strip of tape to hide the duct tape seam on the back of the lightsaber. You can also use electrical tape squares as buttons.
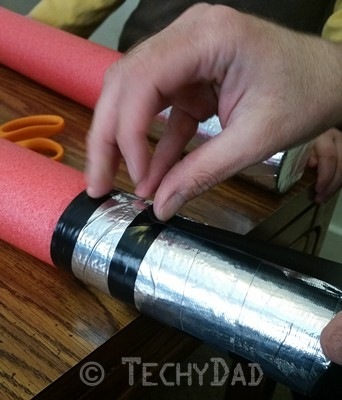
Now, your lightsaber is complete. As I got more practice in making them, I found I could turn out a new lightsaber in a matter of minutes.
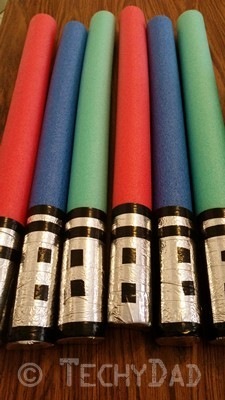
It’s time to go outside and battle some Sith.

I have a bad feeling about this.



 Ok, I’ll admit it. I’m having a case of Craft Envy.

