This past weekend was definitely a weekend of firsts. We had a date night (more on that in a later post), trick or treating (again, another post) and even tasting of new foods (Nutella… yum… ‘nuff said). The biggest of these firsts, though, was our first pumpkin carving.
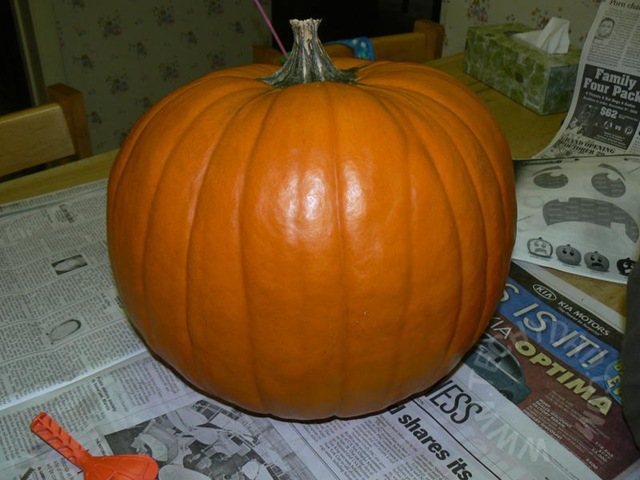
I posted previously of how we purchased a large (22 1/2 pound) pumpkin for under $5. Well, it sat patiently waiting on our porch until this past weekend. I had bought a pumpkin carving kit a few days prior and photocopied one of the design templates. Can you believe I’ve never carved a pumpkin before? I mean it. Never. As a kid, I don’t remember ever doing it at all. So I decided that we would start with a simple pattern. Just eyebrows, eyes and a mouth. I also looked up carving tips online but those pretty much repeated things I had figured out on my own (like cutting the top at an angle so it won’t fall in when you put it back on).
For the actual carving, we went to B’s parents’ house. Their table-over-a-floor is much more conducive to carving than our “table-over-a-rug-and-hard-wood-floors.” I envisioned pumpkin carving time as B, NHL, JSL and I gathered around the pumpkin taking each step together and eventually smiling together as our creation came to life. Yeah, please remind me that my life isn’t some Norman Rockwell painting. NHL decided that he wanted to play on the computer. JSL stayed for a few minutes before he got bored with how little he could do that didn’t involve touching “icky” pumpkin goop. Luckily, B stayed with me, if only to take the photos.
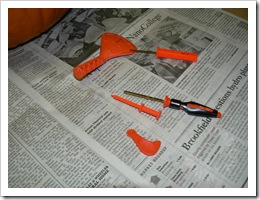
First, I laid out the victim… I mean pumpkin and my tools.
Next, I took a big knife and made my first incision. Can you tell I was enjoying myself?
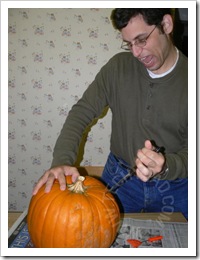
Some slicing later and the pumpkin had a pop-top lid!
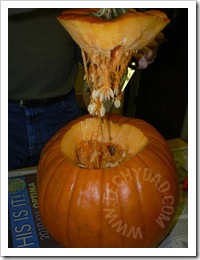
Then, I scooped out the guts. JSL tried to help with this, but in the end he just didn’t have the strength to scrape it out and didn’t want to get too dirty.
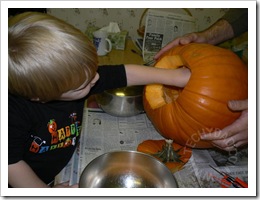
I had no such problems.
Then, I traced the pattern.
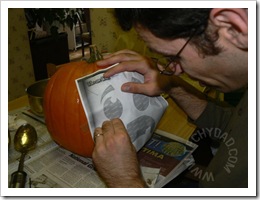
The little wheel tool that came in the kit I bought punched little holes into the pumpkin that I could follow. You could probably do the same with a toothpick. Of course, the kit came with a nifty little knife that I could use to carve out the features.
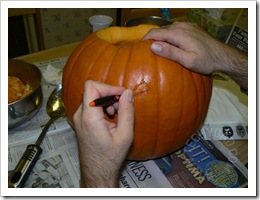
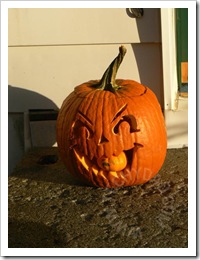
Soon, our Jack-o-Lantern came to life. Is it true what they say about Jack-o-Lanterns looking like the people who carve them?

Wait, or was that pets and owners? Oh well.
At various points, we would call NHL in. He would be impressed with the progress and then go back to playing online. When we called him in for the final result, he was definitely impressed. And then he went right back to the computer. Man, does he take after me… I mean, what’s wrong with the boy? Is he addicted to computers or something?
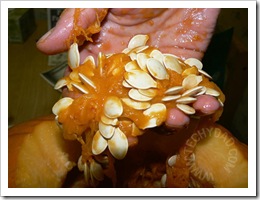
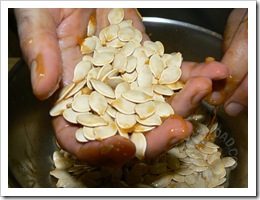
The seeds were separated from the general pumpkin goop. The former were saved for roasting while the latter was tossed.
Then came the test lighting. We had decided that we didn’t want to light a real candle in the pumpkin. Too much of a fire hazard for our tastes. So we had gone to the Christmas Tree Shop and bought a set of LED flameless-candles. These little guys (which somehow escaped being photographed!) look like normal, white, bowl-shaped candles. You flip a switch on the bottom and a “flame” (yes, it is flame shaped) light bulb inside flickers. We turned the lights down low, stuck the LED candle in and it worked! I tried taking some photos of it in action during Halloween night, but, obviously, the low light conditions made this difficult. This was my best of the batch.

Note that you can see the candle in the pumpkin’s mouth in this photo but mainly because the flash lit up the surrounding area so much. During real-life, night-time conditions, all you saw were glowing eyes, eyebrows and mouth on the pumpkin. Spooooky!
Now that I’ve had my first pumpkin-carving, I feel like doing more. It was quite enjoyable and I’d like to try to tackle some of the more intricate designs and set-ups that I’ve seen during my travels.
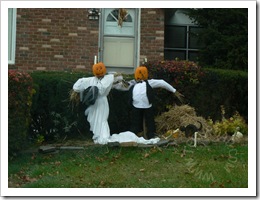
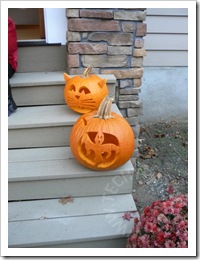
Hmmmm, I wonder if pumpkins will be on sale now?


