Cooking With TechyDad: Fudge
Last year, I wrote a pair of blog posts about some fudge I made. During the year, I meant to do a Cooking With TechyDad segment about the fudge, but never got around to it. With the holidays in full swing, I decided to pull out the old fudge recipe again and this time I took photos. Let’s begin shall we.
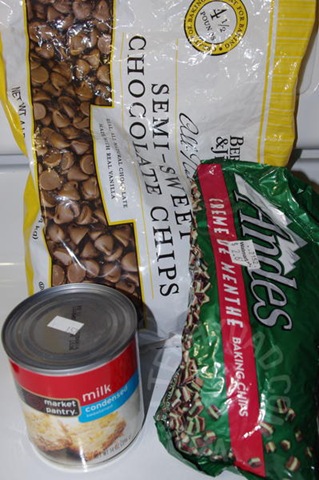
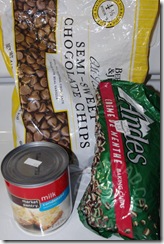
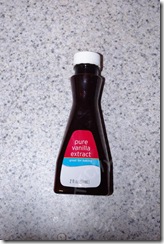
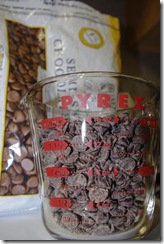
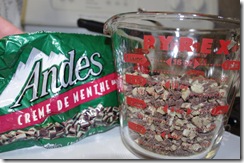
First, of all, you’re going to need to devote your full attention to the fudge for 10 minutes or so. So lay out your ingredients ahead of time and make sure there won’t be any distractions. For the ingredients, you’ll need chocolate chips, sweetened condensed milk and vanilla extract. You can also add a mix-in. I like using Andes baking chips, but you can also use mini-M&Ms (the big ones are nice too but leave the fudge tough to slice), peanut butter chips, nuts, etc. If you don’t want to use a mix-in, no problem. Plain fudge tastes good also.
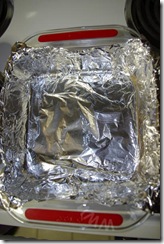
Now that your ingredients are out, get an 8 inch by 8 inch baking pan and line it with aluminum foil. Lightly grease this with cooking spray.
Now, measure out 2 cups of chocolate chips and 1 1/2 cups of your mix-in (if using).
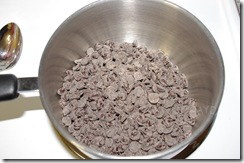
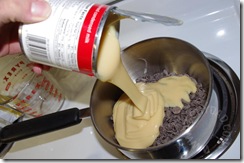
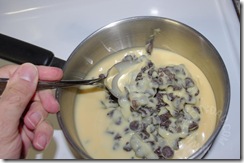
Put the chocolate chips in a small saucepan and pour in the condensed milk.
Now stir it over low heat for about 10 minutes or until smooth.
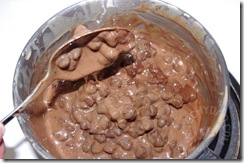
It won’t look like it’s doing much, at first. Then it reaches what I like to call the “chunky chocolate milk” stage. (That’s a technical term.)
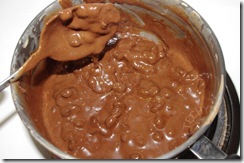
As you can see below, we’re almost ready, but it is still a bit lumpy.
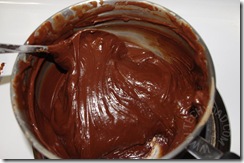
Ok, *now* we’re done.
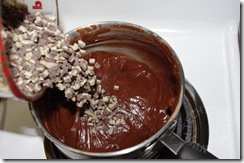
At this point, you need to act fast. Removing the fudge from the heat long will cause it to harden up in your saucepan and nobody wants that. First, toss in any mix-ins you might be using and give the fudge a few stirs to distribute it all around.
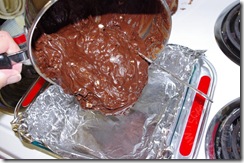
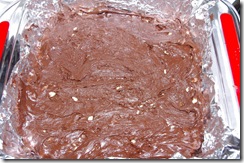
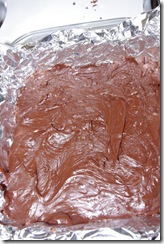
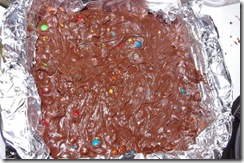
Now, pour the fudge into your 8 inch by 8 inch pan. Smooth it out as best you can, but don’t worry about it looking perfect. Jagged edges are part of homemade fudge’s charm.
Stick the fudge in the fridge for 1 1/2 hours (overnight is fine too). This happens to be one of my favorite parts. No, not putting the fudge in the fridge. Scraping the pot and eating the bits of fudge left behind. YUM!
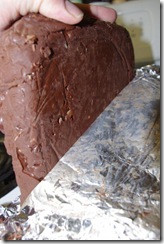
Once your fudge has set, take it out of the fridge, remove it from the pan and carefully peel off the foil. (Some might stick to it, but it should all come off relatively easily.)
Now you have a big block O’ fudge.
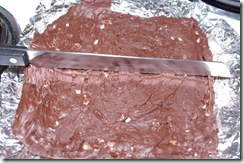
This is nice and all, but I don’t think it looks nice to be nibbling on a hunk of fudge that size. So let’s slice it. Since it was in an 8×8 pan, it’s only fitting to cut it into 8×8 slices. This way, each piece of fudge is 1 inch by 1 inch (approximately).
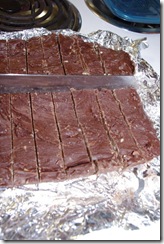
Make the first slice about halfway in.
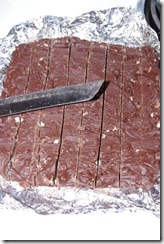
Next, cut each of these pieces in half and each of the resulting pieces in half. Now, you have 8 strips of fudge.
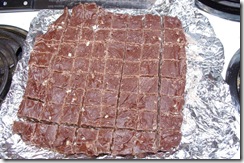
Turn the fudge 90 degrees and repeat the cuts.
There you go! 64 pieces of wonderful fudge.
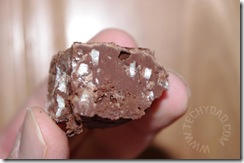
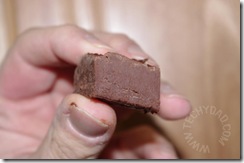
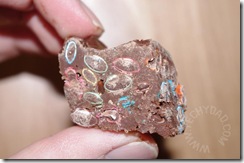
Here’s a close up of the mint, plain and M&M fudge I made.
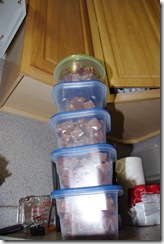
This recipe makes a *lot* of fudge.
You could easily make a few batches, wrap them up nicely (e.g. using those Chinese food containers that you can buy from craft stores) and give them as gifts.
Now, if you don’t mind, I think I’ll eat a piece of fudge. *om nom nom nom nom nom nom nom*




Pingback: Tweets that mention Cooking With TechyDad: Fudge | TechyDad -- Topsy.com
Ohhh that looks SO good!!!!!!!!!
Robyn Wright of Robyn’s Online World recently posted..The Christmas Day Menu