Bye Bye Crib, Hello Crib Bed
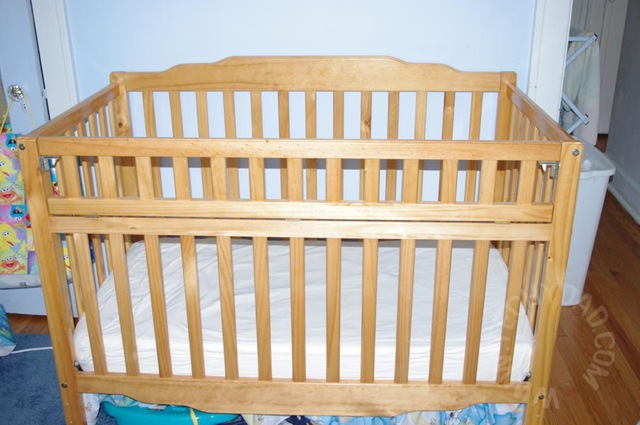
 JSL is three and a half and, up till Sunday, was sleeping in a crib. He seemed to like the setup so we didn’t challenge this. Still, I’ll admit that I felt the crib had outlived its purpose. Especially when I knew that it could be converted into a youth bed. (Or, as JSL calls it, a “crib bed.”)
Besides, our night time routine involved getting NHL into bed and then getting JSL ready. Once NHL was tucked in, JSL would climb into our bed and lay down with B until he was asleep. Then, he would be transported to his crib. Why not have one bedtime?
When NHL was younger, he was in a crib for awhile but switched to a bed after sleeping in one while off visiting friends. At first, I had to climb in his bed with him. (This usually resulted in both of us falling asleep and B having to wake me up.) After awhile, he was comfortable with me standing next to the bed. Then a little farther away. Then he was fine if I stood by the door. Then behind the door (but still visible). Finally, he would be fine if I told him I was “sleeping on the door.” (Also known as “wait for NHL to settle then sneak off.”)
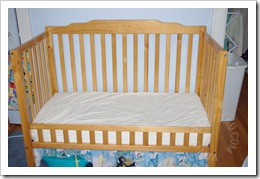 Given NHL’s transition, I was expecting a few rough nights, but JSL seemed excited about the crib bed prospect so I forged ahead. After locating the instructions, retrieving my tools and clearing out his crib, I got to work. JSL was quite interested in the goings-on and tried to help me any way he could. I quickly got the side off, extra hardware removed and the drop gate reinstalled as a youth bed side. JSL loved it. He could climb in and out of his bed with ease.
 Next came the important step of assembling a safety guard to keep JSL from rolling out of his bed during the night. I opened the box and followed the instructions. Once it was assembled, I attempted to fit it under the sheet like we have on NHL’s bed. This is where I hit a wall. I could see right away that this wouldn’t work. The mattress would leave lumps where the bars were at best and would become unstable at worst. Looking at the instructions again, I saw “not for use on youth beds.” D’oh! That “drop gate side” wasn’t going to keep JSL from rolling out so I had to think of something.
 After some pondering, I realized that JSL has many stuffed animals. Check that, he has a *TON* of stuffed animals. He likes many of them to be on his bed with him. Usually, we keep them bundled down by his feet, but I wondered if we could line the side with the stuffed animals. I tried it and it seemed to work. When JSL laid down on the bed, he would hit the stuffed animals as he rolled. It might not be a guarantee, but it should help keep him in bed.
As for the nighttime routine? JSL was highly excited. He said he wasn’t going to sleep in our bed anymore, but would rather fall asleep in his new crib bed. Once in his bed, though, he became agitated. Being in bed by himself (though NHL was in the same room about seven feet away) scared him. I got my computer and laid down next to his bed to help him settle. It took about a half hour, but he finally settled.
 The next night, was just as bad, if not worse. I had to lean over his bed (pretending to lie on it without actually putting my weight on it) to help him calm down and then hold his hand as he went to sleep. Last night, we saw a lot of improvement. Despite some pre-bedtime chaos (aggravated by a loss of socks and a late bedtime), JSL calmed down quickly once the lights were out and he was holding my hand. Within fifteen minutes, JSL was asleep. With luck, by the time school starts back up, we’ll have this new bedtime routine all sorted out.

